Installing a Virtual Printer
By Jesse Wiegand 11/27/02
In order to create the larger page size, you must first install a printer that is capable of handling a larger sheet size. By this I don’t mean actually going out and buying a different printer, I mean installing the print drivers for the printer. This is done by completing the following steps:
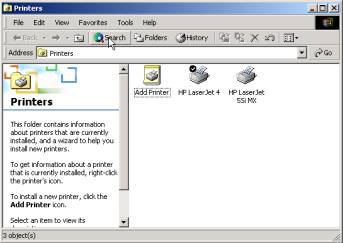
- Click on the <Start> button, go to <settings> then to <printers>. A “Printers” window will open.
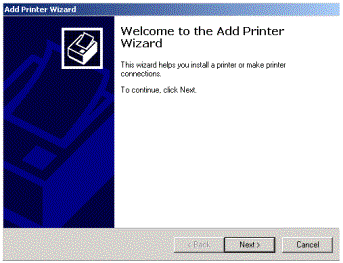
- Double click on the <Add Printer> icon to start the “Add Printer Wizard” and click on the <Next> button.
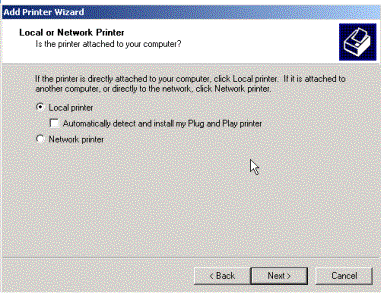
- From the “Local or Network Printer” window select “Local printer” and deselect “Automatically detect and install my Plug and Play printer” then click the <Next> button.
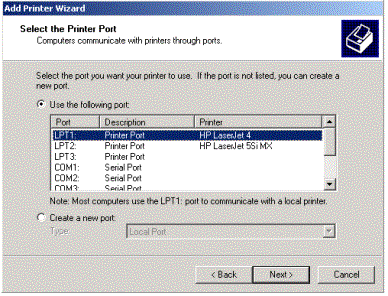
- From the “Select the Printer Port” window, select “Use the following port” and highlight “LPT1”. Click the <Next> button.
Note:
In some instances there will already be a printer assigned to LPT1. Since we will not actually print to this device, it will not cause a problem selecting LPT1 for our printer.
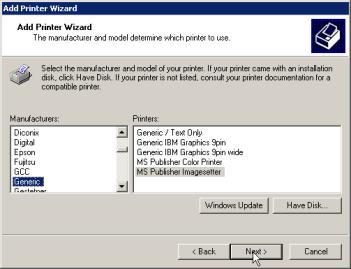
- From the “Add Printer” window, under “Manufactures” select “Generic”. Under “Printers” select “MS Publisher Imagesetter” and click the <Next> button.
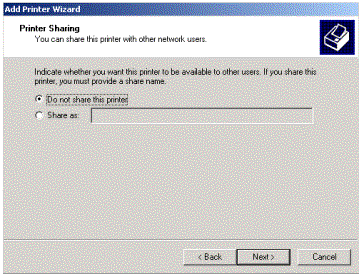
- From the “Printer Sharing” window select “Do not share this printer” then click the <Next> button.
Next you will see the “Completing the Add Printer Wizard” window.
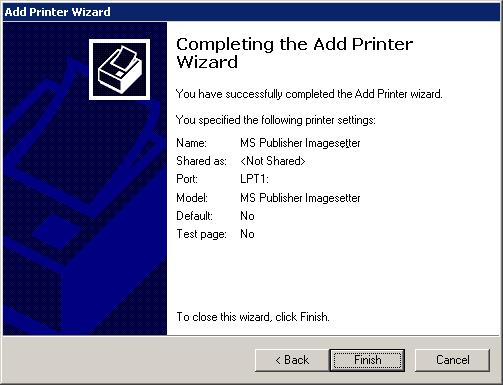
- Click the <Finished> button.
This is the printer you will use when editing an oversized SuperReport.