Customizing the Timeout Values (PC Client)
By Jesse Wiegand 11/27/02
Note: Please consult a PrintPoint representative before performing any of the steps in this tutorial.
- Make sure the “PrintPoint Client” application is NOT running.
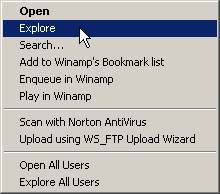
- Right click on your <Start> button and choose “Explore”
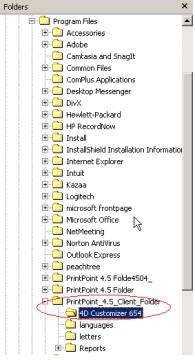
- On the left side of your screen map to the PrinPoint 4.5_Client_Folder\Additional Tools\4D Customizer 654 folder
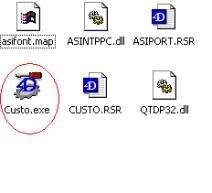
- From the right side of the window double click on <Custo.exe>.
- From the “File” menu select “Open”. From the “Open” window, using the dropdown button in the “Look in:” area, map to the “ACI” folder and double click on the “tcp.opt” file.
Note:
If this is a Windows 9x operating system you will map to C:\Windows\ACI. If this is a Win2K operating system you will map to C:\Winnt\ACI.
- From the “Chooser : tcp.opt” window double click on <Preferences>.
- From the “Preferences: tcp.opt” window change the “Timeout” to 1800 then click on the <X> in the upper right hand corner.
- That will take you back to the “Chooser : tcp.opt” window. Click on the <X> in the upper right hand corner of that window also.
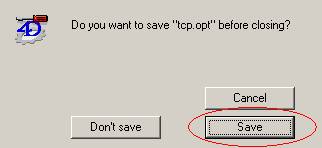
- When prompted, click on the <Save> button. Then close the Customizer.
After these changes and the changes to the server have been made you will be ready to start the client and run PrintPoint.