Customizing the Timeout Values (Macintosh Server)
By Jesse Wiegand 11/27/02
Note: Please consult a PrintPoint representative before performing any of the steps in this tutorial.
The purpose of this tutorial is to give instructions on changing the Timeout Value’s within the 4D Server application and the PrintPoint Client application. This is to be done only if you are having excessive timeout errors from within the application. It should be noted that this is a “Possible” fix to the issue but has not been thoroughly tested and is not guaranteed to fix the problem.
From the PrintPoint server:
- Make sure there are no clients logged onto the Server Application.
- Select “Database Properties” from the file menu. You will see the “Database Properties” window. From within that window, select the 3rd tab from the right. Your window should look like the below window. In the “Client/Server Connections Timeout” section, choose “No Timeout”. Then click <OK>.
- Start the “Customizer” application. It is located in the “ “System” folder ® “Preference” folder ® “ACI” folder
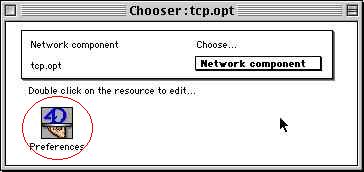
- Once Customizer is open, from the “File” menu select “Open”. From the “Select the file to customize…” window go to the ACI folder and select the “tcp.opt” file. The ACI folder is located in your System Folder ® Preference Folder.

- From the “Chooser:tcp.opt” window double click on <Preferences> icon.
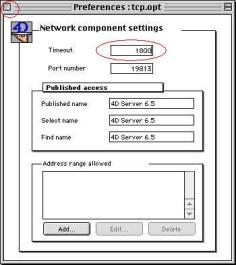
- In the “Preferences:tcp.opt” window change the “Timeout” to 1800. Then close the window.
From the “File” menu select “Quit”. When prompted, click on <Save>.

Now you will need to adjust the “Timeout” settings on your clients and restart your Server application.